Monday, November 18, 2019

WEEK 14 FYP2

WEEK 14
DATE: 28/10/2019-01/11/2019
SUPERVISOR: SIR SHAH RIZAILLI BIN MUKHTAR

👉 FINAL YEAR PROJECT 2 WORKSHOP
  • The workshop was held on 1st November 2019 in TTL 1 UniKL BMI. The speaker for this workshop is Dr Mohd Noor Nordin. The purpose of this workshop is to explain to the FYP 2 students on how to write a technical paper. The aim of technical paper is as a contribution to society especially engineering society.
  • In technical paper, it includes the title of the project, abstract, introduction of the project, the material used, methodology, the results obtained and also the discussion on the results. It must be written in past tense.
  • 1) Abstract : 
  • In abstract, the student needs to state the principle, objectives and scope of investigation, describe the methods used and summarize the results obtained and state the conclusion. The words must not more than 250 words with only 1 paragraph.
  • 2) Introduction : 
  • In introduction, the student need to includes the study of the project, the problem statements, the objectives of the project and the significance to do the project. It must be written in present tense to refer for the work that have been publish and used past tense for our own work and it must not more than 450 words with only 3 paragraph. The first paragraph is about the general part of study. The second paragraph is to state the research information. Lastly, the third paragraph is to tell the works that had been done in the project.
  • 3) Materials & Methodology :
  • In methodology, the student need to tell people/reader on how this project works. The example are materials, experimental procedure, analysis, calculation or computational procedure.
  • 4) Discussion and Results : 
  • Do the discussion of the results obtained. In the paragraph, the student need to state the finding of the project and summarize all the findings.
  • 5) Conclusion : 
  • Conclusion need to be written in the simplest way and also state the recommendation for the next study.
👉 UPDATING FINAL YEAR PROJECT 2 REPORT
  • In this week, I have been updating chapter 1 and chapter 2 and I have completed it this week. In chapter 1, I did the background of the project, objectives, problem statements, scope and limitation of work and the significance of the project. In chapter 2, I did literature review based on the articles and journals that is related to the project and also the overall comparison of the journals also have been done in this chapter. There are some improvement I did based on the Final Year Project 1 report writing.
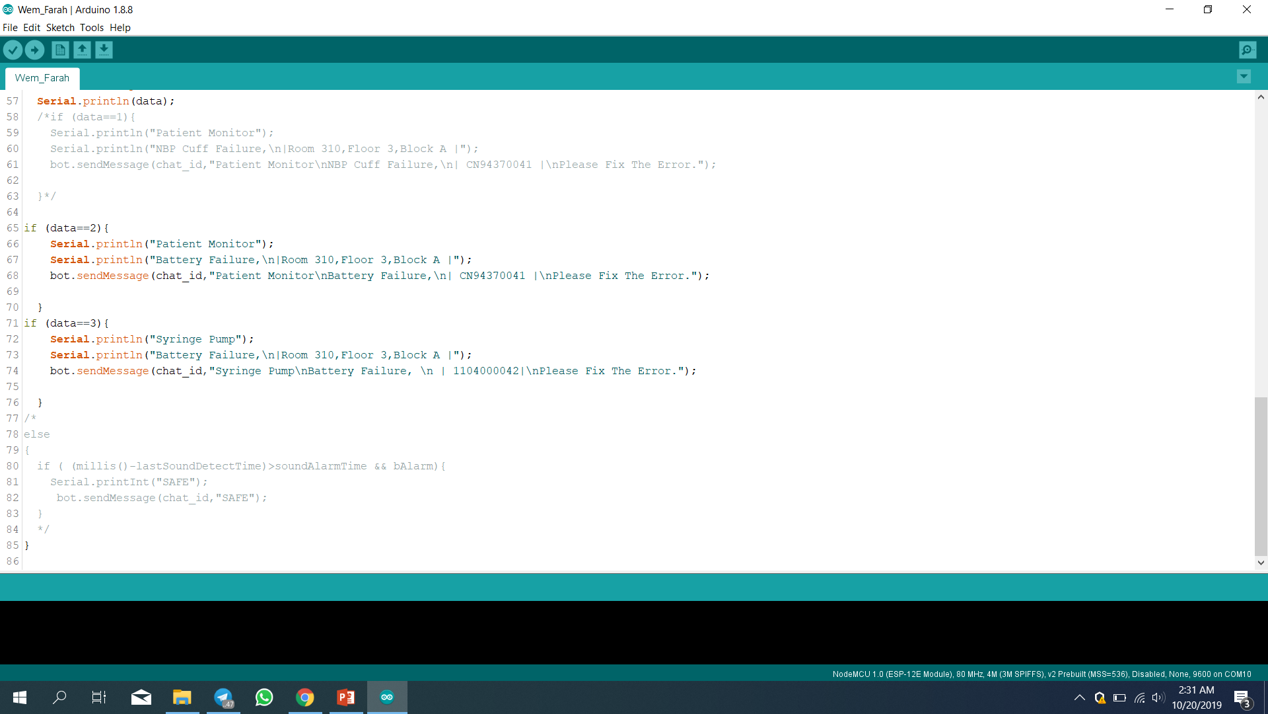
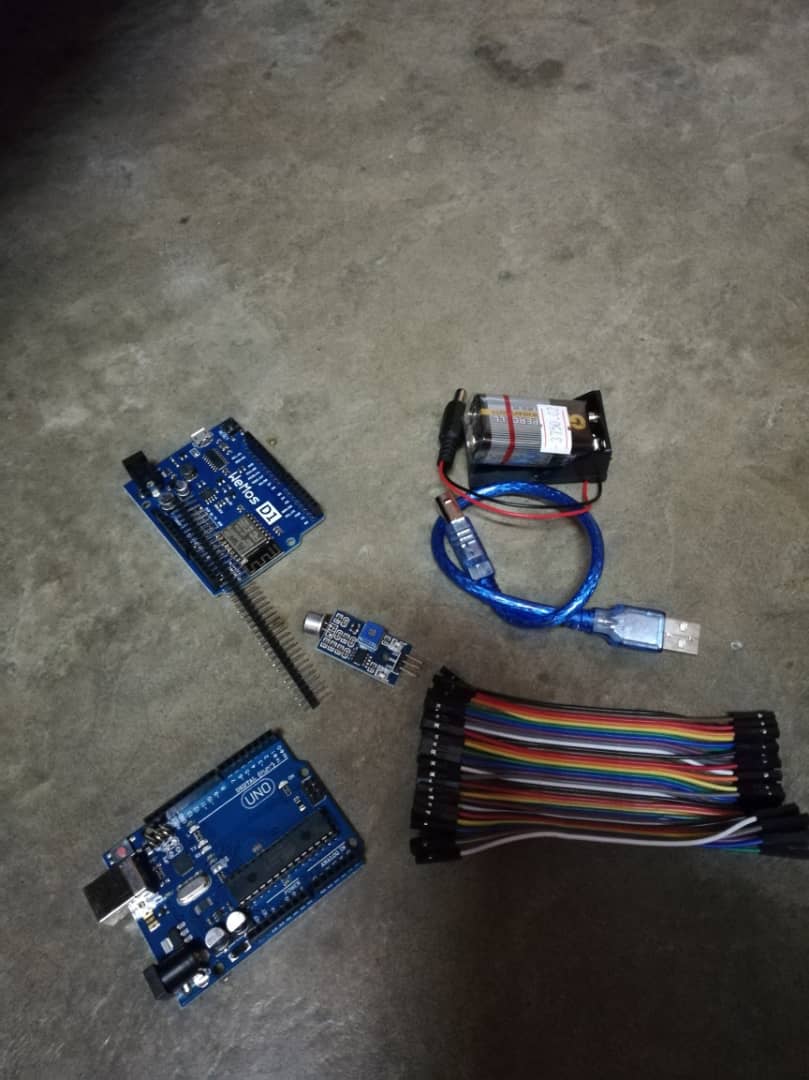
  • As for chapter 3, it is still in progress. In chapter 3, it consists of the methodology of project work. It includes the flow chart, block diagram and basic circuit of the project and it need to be explained in details. I also explained on the main components that being used for this project.


Monday, October 28, 2019

WEEK 13 FYP2

WEEK 13
DATE: 22/10/2019-25/10/2019
SUPERVISOR: SIR SHAH RIZAILLI BIN MUKHTAR

👉 MEETING WITH SUPERVISOR
  • The meeting was held in Lab SPS 209. 
  • In the meeting, I show my project to the supervisor. The supervisor also check on my coding and also prototype. He also want to see the functionality and accuracy of the prototype.
  • There are some improvement need to be done such as solving coding error, measurement power supply ability on syringe pump and patient monitor.
  • I also need to control the sensor sensitivity and consistency.
  • Do more data collection, comparative study and to make sure that signal conditioning matching with serial monitor data including ranges. 

👉 TESTING ON MEDICAL EQUIPMENT


  • I did the testing on medical equipment and connect the Arduino Nano to the laptop. Then, I click on the serial monitor to analyze the frequency of alarm sound from medical equipment to make sure that the value is tally with the value that has been set in the coding.
  • Then, I did the testing on the accuracy of the detection. It shows that the sound sensor will not detect any other sound if the alarm sound is activated. The length of detection is also being measure from medical equipment. 
  • There is a problem with the coding where it it not able to detect false alarm. So I checked the coding and also troubleshoot the circuit.
  • I found that the sensor used is not functioning well anymore. I also did some correction on my Arduino coding.

Saturday, October 19, 2019

WEEK 12 FYP2

WEEK 12

DATE: 16/10/2019-18/10/2019
SUPERVISOR: SIR SHAH RIZAILLI BIN MUKHTAR

👉 IDEAS TO IMPROVE THE PRODUCT
  • This week I am thinking of improving my prototype in term of its design, accuracy of detection and getting more data. This is because during the FYP2 presentation, the accessors give the idea and also improvement that can be made for this product. 
  • In term of its design, the size of the existing prototype is quite bigger. It is better to make the size smaller as it would be much suitable to attach the product to the medical equipment. 
  • As for accuracy of detection, the improvement can be made in term of the distance of sound detection. It means that if the prototype is place near to one of the medical equipment, then it will not detect the alarm from another medical equipment eventhough the alarm sound is the same.
  • Data collection of the frequency of alarm sound must be continued because the more data collection, the more accurate the detection of the alarm sound. This time, I am thinking of using LabView to collect the data it will provide more smooth signal and more accurate frequency.
  • Before this, I am using different medical equipment to compare the frequency of both alarm. As for the improvement, I would like to compare the alarm sound of same medical equipment but different manufacturer. I will need the help from Radibems in Unikl BMI to get the medical equipment. The appointment need to be made in order to continue with this plan. 
  • I also need to improve the programming/coding to get a better result.


WEEK 11 FYP2

WEEK 11

DATE: 07/10/2019-08/10/2019
SUPERVISOR: SIR SHAH RIZAILLI BIN MUKHTAR

👉 PREPARATION FOR EXHIBITION DAY
  • I am experiencing difficulty the day before the presentation where the arduino nano board burn during the testing. There is no notification appear on the telegram when detecting the faulty alarm. Troubleshooting is made to identify the cause of the problem and also to check the connection of the wire with the component. I found out that maybe the arduino nano board is burn during soldering the jumper wire to the pin of arduino nano as my soldering technique is not very good. 
  • Below is one of the example of how I did the soldering to the arduino nano board. The lead is too big and it may connected to the other pin.
Figure 1: Broken Arduino Nano
  • The arduino nano board cannot be used anymore so I need to buy a new one. I went to the autobotic sdn bhd and luckily they still have the stock. I compile the coding into the new arduino board and placed it inside the box.
  • The prototype is ready for presentation day.
Figure 2: Prototype
  • After that, I am preparing myself on how to present and deliver the ideas of this project. 

DATE: 09/10/2019
👉 PRESENTATION DAY


  • The event start at 9 a.m. in Gemilang Hall. The students came early to the venue to prepare before the presentation. The accessor who accessed the students are Madam Siti Afifah and Mr Syukran from EASMED SDN BHD  and the presentation run smoothly. 
  • The picture below is taken after the done doing the presentation.

  • Figure 1: 
    Picture with bunting and prototype

    Figure 2: 
    Picture with our supervisor, Mr Shah Rizailli and FYP2 coordinator, Dr Imran Sofi

    \


    WEEK 10 FYP2

    WEEK 10

    DATE: 30/9/2019-05/10/2019
    SUPERVISOR: SIR SHAH RIZAILLI BIN MUKHTAR

    👉 PREPARE BUNTING BANNER


  • For this semester, FYP coordinator asked the students to do the presentation poster on a small size banner bunting. The layout of the poster include the objective, project description, flow chart, methodology, results, conclusion and references.
  • After done designing the bunting, I went to the printing service shop in Taman Melawati to print the bunting.
  • The bunting size is 2ft x 6ft.


  • 👉 TESTING OF THE PROTOTYPE

    • The coding to program arduino nano is shown below.
    • The condition for the alarm sound are:
    • 1) if the frequency is between 1000 and 1100 = Patient Monitor Battery Failure
    • 2) if the frequency is between 3000 and 4000 = Syringe Pump Battery Failure
    • In this coding, I use interrupt so that it can calculate the frequency of the alarm sound.


    • The coding for telegram is shown in the Figure below.
    • I need to include library such as ESP8266WiFi, WIFi ClientSecure, UniversalTelegramBot and ArduinoJson. 
    • In order to get connected to telegram, I need a include token from telegram Botfather and also chat id. 
    • Next, write coding to connect to wifi by including the network ssid name and network key. 
    • Then, include coding to display the notification on telegram.


    • The picture below shows the notification on telegram.


    WEEK 9 FYP2

    WEEK 9 
    DATE: 23/9/2019-27/9/2019
    SUPERVISOR: SIR SHAH RIZAILLI BIN MUKHTAR

    👉 PREPARE HARDWARE
    • Firstly, I create the design of the prototype which I decided to make it into rectangular shape. The design is like the figure shown below.


    Figure 1: Prototype design

    • The length will be 15cm, the height is 2cm and the width is 4cm. 
    • The length of the box is quite longer because I need two battery of 9V to power on the board for arduino and wifi module.
    • The design is smaller than the actual plan. Before this, I plan to use arduino uno and Wemos Wifi module to program the circuit. The size of these two board is quite bigger. So, I decided to change the Arduino Uno board to Arduino Nano board while Wemos Wifi module to Nodemcu board. With these size of the board, it can fit into the box in Figure 1.
    Figure 2: Arduino Uno to Arduino Nano

    Figure 3: Wemos Wifi Module to Nodemcu 

    • The size of the filtering circuit also is changed to a smaller one. The circuit is being soldered on the strip board. I took about 1 to 2 hours to finish the soldering circuit because it is quite difficult to solder such a small circuit. After finish, I check the connection of the pins of component using multimeter. This is to make sure the circuit is still functioning after soldering the circuit.
    Figure 4: Soldered filtering circuit

    • Figure 5 below shows the inside looks of the prototype.
    Figure 5: Component in the box


    WEEK 8 FYP2

    WEEK 8

    DATE: 9/9/2019
    SUPERVISOR: SIR SHAH RIZAILLI BIN MUKHTAR
    👉 TESTING ON MEDICAL EQUIPMENT

    Activities
    • After done constructing the filtering circuit, the circuit is then being tested to see whether it is functioning well or not.
    • By connecting the filtering circuit with the sound sensor, the test is done by detecting the sound from the medical equipment. The Figure below shows how I did the detection of alarm sound from medical equipment. The medical equipment is placed near to the sound sensor with the circuit. 


    These are some of the example of data that I collected. I take the measurement of frequency of the signal for every cycle. I did the test many times so that more data is collected which I can analyze the value of frequency for every cycle and to get accurate data.

    1. Syringe Pump


    2. Patient Monitor


    Saturday, September 14, 2019

    WEEK 7 FYP2

    WEEK 7

    DATE: 5/9/2019
    SUPERVISOR: SIR SHAH RIZAILLI BIN MUKHTAR
    👉 CONSTRUCT CIRCUIT

    Activities


    Figure 1: Filtering Circuit


    • After doing the first testing, it is observed that the sound sensor can detect sound even from a longer distance. So, I decide to do the filter for the sound by constructing bandpass filter circuit. The function of filtering circuit also to get a smooth waveform signal as it appeared on the oscilloscope. 
    • Frequency range between 3kHz to 5kHz based on testing using syringe pump.
    • So, resistor and capacitor used are:
    • R1= 2.4Kohm C1= 22nF
    • R2= 1.4Kohm C2= 22nF
    • Op amp LM741 is used in order to construct this circuit. 
    • However, I did not test this circuit on syringe pump yet.


    WEEK 6 FYP2

    WEEK 6

    DATE: 28/8/2019-30/8/2019
    SUPERVISOR: SIR SHAH RIZAILLI BIN MUKHTAR
    👉 CONSTRUCT CIRCUIT

    Activities

    Figure 1:Connection sound sensor and Arduino Uno with oscilloscope 

    Figure 2: Setting up oscilloscope
    • I continue doing my project at FYP laboratory as I will be using oscilloscope to measure the frequency of sound wave and its voltage. The testing is done by doing the humming sound from different distance from the sound sensor and plucking finger to see the accuracy and also the sensitivity of the sound sensor.
    Humming sound:
    1) 1st try: 

    Frequency: 229.9Hz at 30cm distance from sound sensor

    2) 2nd try
    Frequency: 213.0Hz at 10cm distance from sound sensor

    3)3rd try
    Frequency: 238.1Hz at 5cm distance from sound sensor


    👉 CONNECT WIFI USING WEMOS 

    • I would like to check the functionality of Wemos Wifi module.
    • Firstly, connect the module to the laptop by using USB cable.
    • Then, write the coding to connect to wifi as shown in the figure below.


    • Then, compile the coding and run the program.
    • Lastly, click on the serial monitor symbol to see the result. Serial monitor will show that the wifi is already connected to the phone.


    👉 CONNECT WEMOS WITH TELEGRAM.
    •  I try to connect the module to telegram by testing using led. When LED is ON, telegram bot will receive notification displaying LED is ON and vice versa.
    • Connect LED to the module and by using USB cable, connect the module to laptop.

    • The coding will be like this.


    • Then, compile the coding and run the program. The problem occur when there is no notification appear on telegram when the LED is ON or OFF. 

    • I have check the coding but there is no problem with the coding. So, I google to find the answer. It shows that I need to downgrade the version of ArduinoJson as the latest version is not compatible to be used to connect to the telegram. Then, the program works.


    WEEK 5 FYP2

    WEEK 5

    DATE: 19/8/2019-22/8/2019
    SUPERVISOR: SIR SHAH RIZAILLI BIN MUKHTAR


    👉 INSTALLATION OF ARDUINO IDE VERSION 1.8.8

    • If we are using the Arduino IDE software for the first time, the screen will appear like the figure below. 
    • There are also some library that need to be installed so that the programmed can be compile and run. The library include ArduinoJson, ESP8266 and also TelegramBot. For example, if we are using Blynk apps, then we need to install Blynk library. The library can be installed through board manager in the software. If fail to include one of these library, the programmed cannot be compile and will not work.


    👉 TEST COMPATIBILITY OF SOUND SENSOR WITH ARDUINO UNO

    Activities

    Figure 1: Connection of Arduino Uno and Sound sensor


    • I have construct the circuit by connecting Arduino Uno with sound sensor module. An LED is used to show the detection of sound by the sound sensor. The LED will blink if the sound sensor detect the sound. For example, I try plucking finger near the sound sensor and the LED blink. At some moment, it also detect sound when people speaks. So, the sensitivity of the sound sensor must be fixed.

    👉 MEETING WITH SUPERVISOR
    • The purpose of this meeting is to update my progress to Mr Shah Rizailli and also discussing on the signal conditioning circuit that suitable to be used for this project.
    • Supervisor also told me on how to do the data collection and to get more data as possible.

    Friday, August 23, 2019

    WEEK 4 FYP2

    WEEK 4

    DATE: 14/8/2019
    SUPERVISOR: SIR SHAH RIZAILLI BIN MUKHTAR
    👉 COMPONENT

    Activities
    • I had bought all the component needed to do the testing at Autobotic Sdn Bhd, Setapak. It is easier buying the component here as I can do online ordering and when all the component is ready, I just go to the shop picking up the component.
    • COMPONENT
      QUANTITY
      PRICE
      Arduino Uno
      1
      RM23.50
      WEMOS D1 WiFi Module
      1
      RM26.50
      Sound Sensor FC-04
      1
      RM4.60
      9V battery
      1
      RM2.50
    All the component is in a good condition.

    Sunday, August 18, 2019

    WEEK 3 FYP2

    WEEK 3

    DATE: 8/8/2019
    SUPERVISOR: SIR SHAH RIZAILLI BIN MUKHTAR
    👉  Meeting With Supervisor

    Activities
    • The students were introduced to one of the representative from the industry who is expert in biomedical engineering to present our FYP2 project ideas to him.
    • During the meeting, we shared ideas and information on how the project works and also discussed on how to develop the prototype.
    • It is good to be able to share the ideas and knowledge with the engineer as he has many experience in the industry and told us the improvement that can be made with our project.
    • After the meeting, I discussed with the supervisor the progress in developing the prototype. The next step is to contact the Radibems at Level 3, asking them whether I can use the medical equipment in their office. This is because I need a sample of medical equipment that is faulty with a different brand to compare the result of the sound produced. 

    DATE: 9/8/2019
    SUPERVISOR: SIR SHAH RIZAILLI BIN MUKHTAR
    👉  Study previous FYP project

    Activities
    • I did the study and read on the previous related project done by the senior. Their project is basically about the detection of faulty alarm from medical equipment but they are using different type of signal conditioning circuit, different types of faulty alarm and also different medical equipment. The way of sending the notification to the end user also is different. 
    • By studying previous project, I get the ideas on how to improve the product in term of its accuracy, design and also data collection.
    • My focus also is on the circuit construction, method used to capture the alarm sound and analyze the frequency signal. 

    WEEK 2 FYP2

    WEEK 2

    DATE: 31/7/2019
    SUPERVISOR: SIR SHAH RIZAILLI BIN MUKHTAR
    👉  1st FYP2 Briefing

    Activities

    Speaker: Dr Imran Mohd Sofi

    • The first FYP2 briefing is about the planning and activities of FYP2 for the whole semester. 
    • Progress Report
      20%
      FYP Exhibition Day
      35%
      Final Report
      35%
      Technical Paper
      10%
                       FYP2 Assessments
    • Important dates: 


    DATE: 29/7/2019
    SUPERVISOR: SIR SHAH RIZAILLI BIN MUKHTAR
    👉  SEARCH RELATED ARTICLES/ VIDEOS

    Activities

    • Read articles on the types and frequency of infusion pump alarms: Protocol for a Retrospective Data Analysis. The objectives of the study is to analyze baseline data related to the types and frequency of infusion pump alarms from the B. Braun Outlook 400ES Safety Infusion System with the accompanying DoseTrac Infusion Management Software. This study will analyze the  overall infusion pump alarm frequency (number of alarms per active infusion), duration of alarms (average, range, median), and type and frequency of alarms distributed by care area.

    Links